To create a new schedule group, navigate to the Settings (gear icon) - Locations - Locations page using the main navigation menu found on the left side of the account.
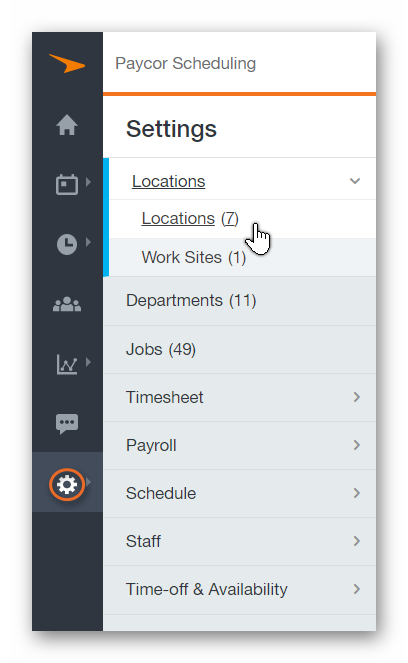
Next, to initiate the schedule group creation process, click + Add Schedule Group in the upper right corner of the Locations page.

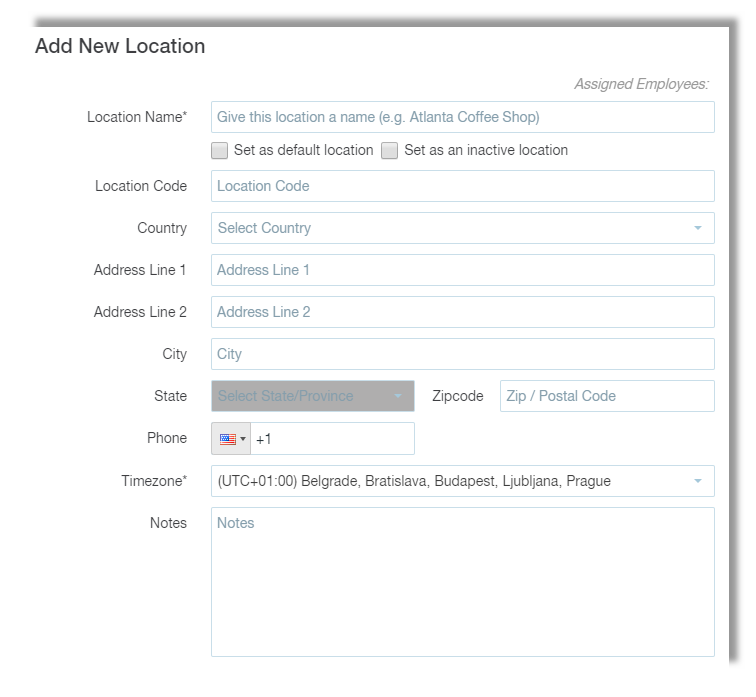
Clicking this button will display a number of fields that can be filled in, some required, some optional. Below is a list of the fields, what they are, which are required, and which are optional.
There are two options:
The Set As Default Schedule Group option will make the schedule group being edited the Default schedule group. When jobs are being added / edited, this is the schedule group that will be selected by default. Additionally, this will be the schedule group that is viewed by default via the Schedule page.
The Set As An Inactive Schedule Group option will mark the schedule group being edited as Inactive. Once the schedule group has been marked as Inactive, the schedule group will not be displayed via the Schedule page, or able to be selected when creating or editing jobs.
-
Schedule Group Code
-
If your company assigns locations codes, you can include that code here. When generating specific reports, the schedule group code can be included for more visibility.
- Optional
-
If your company assigns locations codes, you can include that code here. When generating specific reports, the schedule group code can be included for more visibility.
-
Country
-
The Country of the schedule group.
- Optional
-
The Country of the schedule group.
-
Address Line 1
-
The address of the schedule group
- Optional
-
The address of the schedule group
-
Address Line 2
-
An additional field for the schedule group's address.
- Optional
-
An additional field for the schedule group's address.
-
City
-
The City of the schedule group.
- Optional
-
The City of the schedule group.
-
State
-
The State of the schedule group (only able to be selected if a Country has first been selected).
- Optional
-
The State of the schedule group (only able to be selected if a Country has first been selected).
-
Zip Code
-
The Zip Code of the schedule group.
- Optional
-
The Zip Code of the schedule group.
-
Phone
-
The phone number of the schedule group.
- Optional
-
The phone number of the schedule group.
-
Time Zone
-
The Time Zone of the schedule group.
- Required
-
The Time Zone of the schedule group.
-
Notes
-
Here, should you choose, you can enter any necessary notes regarding the schedule group.
- Optional
-
Here, should you choose, you can enter any necessary notes regarding the schedule group.
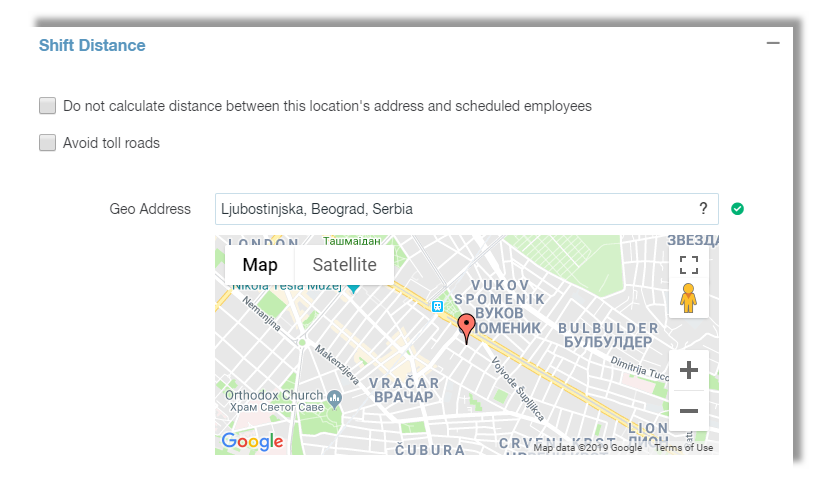
Below this section is the Shift Distance section. This is where you'll be able to add a Geo Address indicating the exact address of the schedule group. This can then collaborate with the Geo Address of staff member locations, and display the distance between where a staff member lives, and the schedule group. For more information on this feature, click the link below.
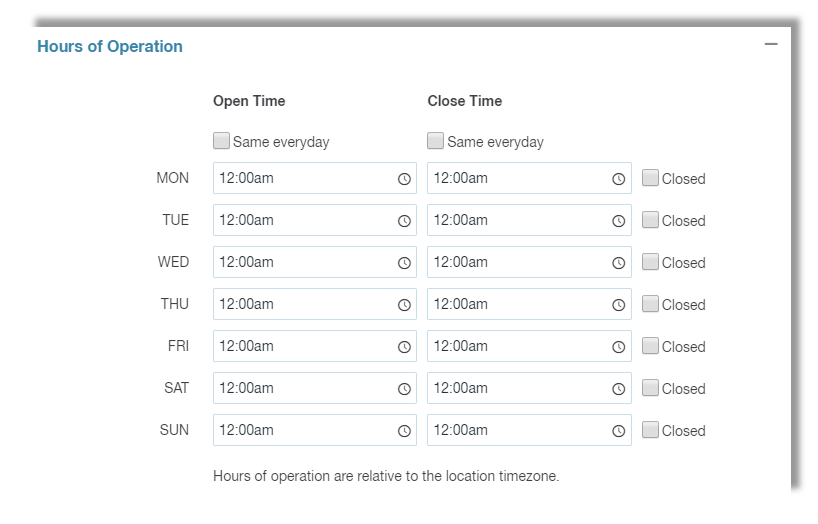
The last section is Hours of Operations. This is where you can define the Open Time / Close Time of the schedule group. This will directly affect the Schedule page, and successfully scheduling staff members. Also, keep in mind that these hours are based on the Time Zone of the schedule group being edited.
Once you're satisfied with the configuration of the schedule group, and you're ready for the changes to go live, click the Save button at the bottom of the page.

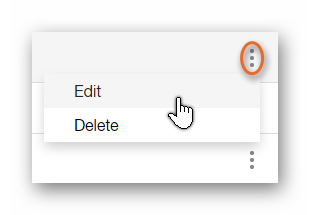
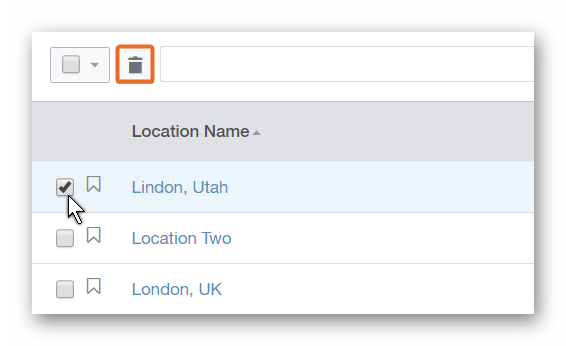
To edit an existing schedule group, click the options button (three dots) found to the far right of the schedule group row, and click the Edit button. You can also Delete a schedule group by clicking the Delete button below Edit, or you can tick the box to the left of the schedule group row, and click the trash can icon.
__________________________________________________________________________________

We want to hear about your great ideas. If you have a feature request, enhancement suggestion, or improvement, let us know by submitting them to to our Ideas page. Your submission can receive votes from other Paycor Scheduling users, or you can vote on ideas yourself. Simply click the ADD A NEW IDEA button below to check it out.
Cheers!