To create an objective, click on the ‘New Objective’ button from the landing page, or any of the Objectives feature pages.

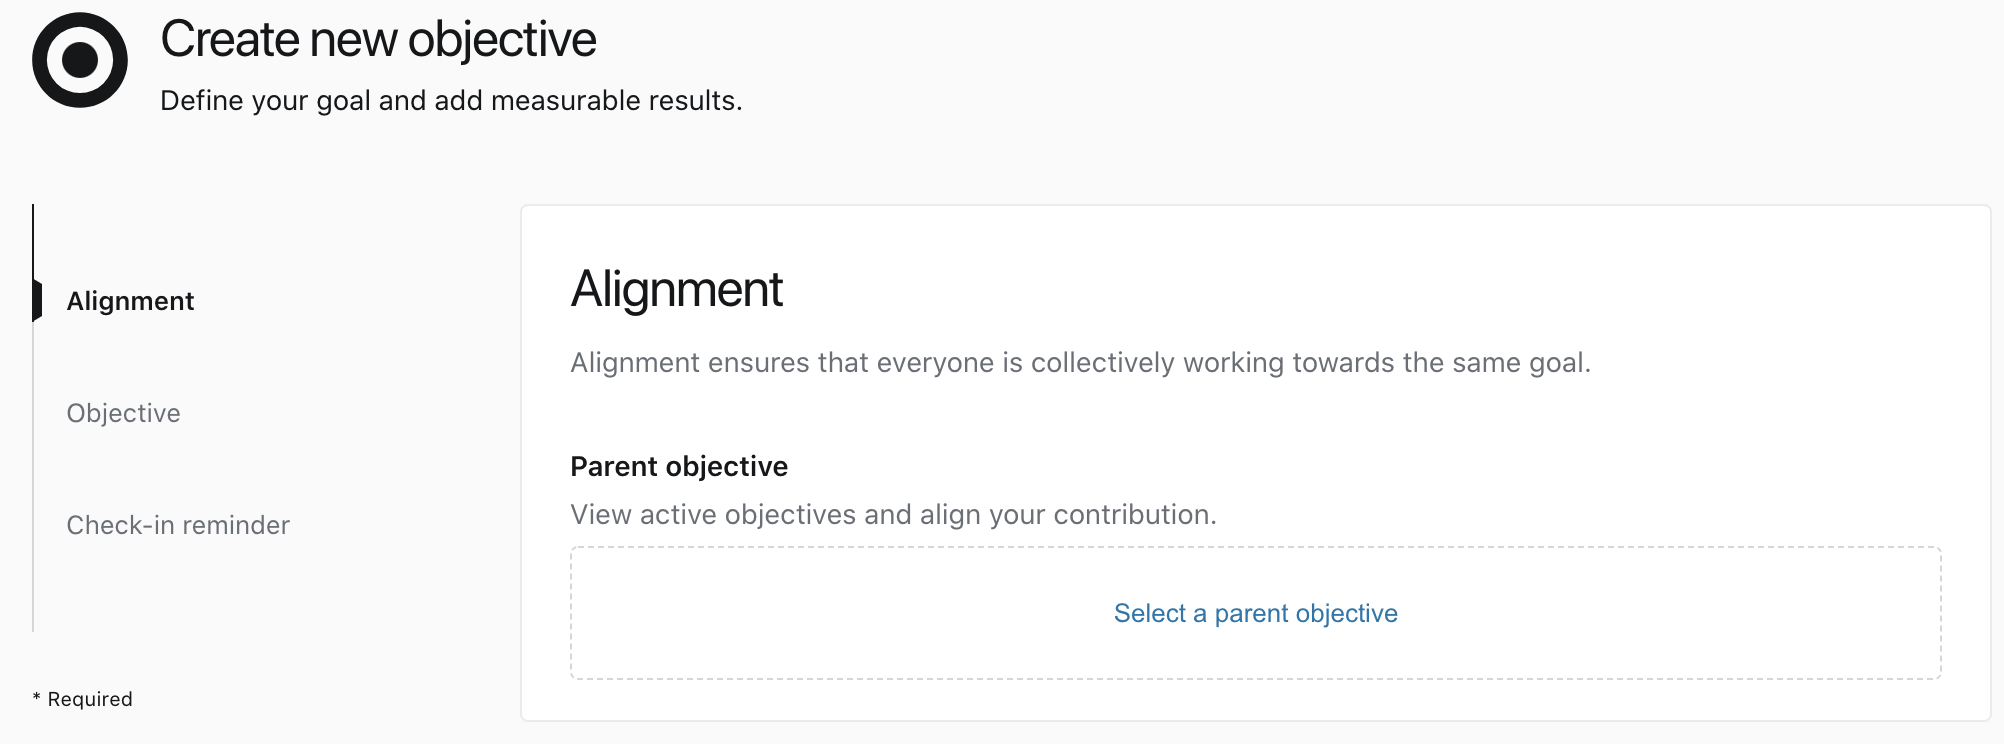
Step 1: Align to a higher level parent objective (optional)
If the objectives are being cascaded from the organization down to department or individual level, here you can find the parent objective you or your team can contribute to. If you’re creating a personal objective that doesn't need a parent objective or otherwise aren't sure about alignment, you can skip this step.

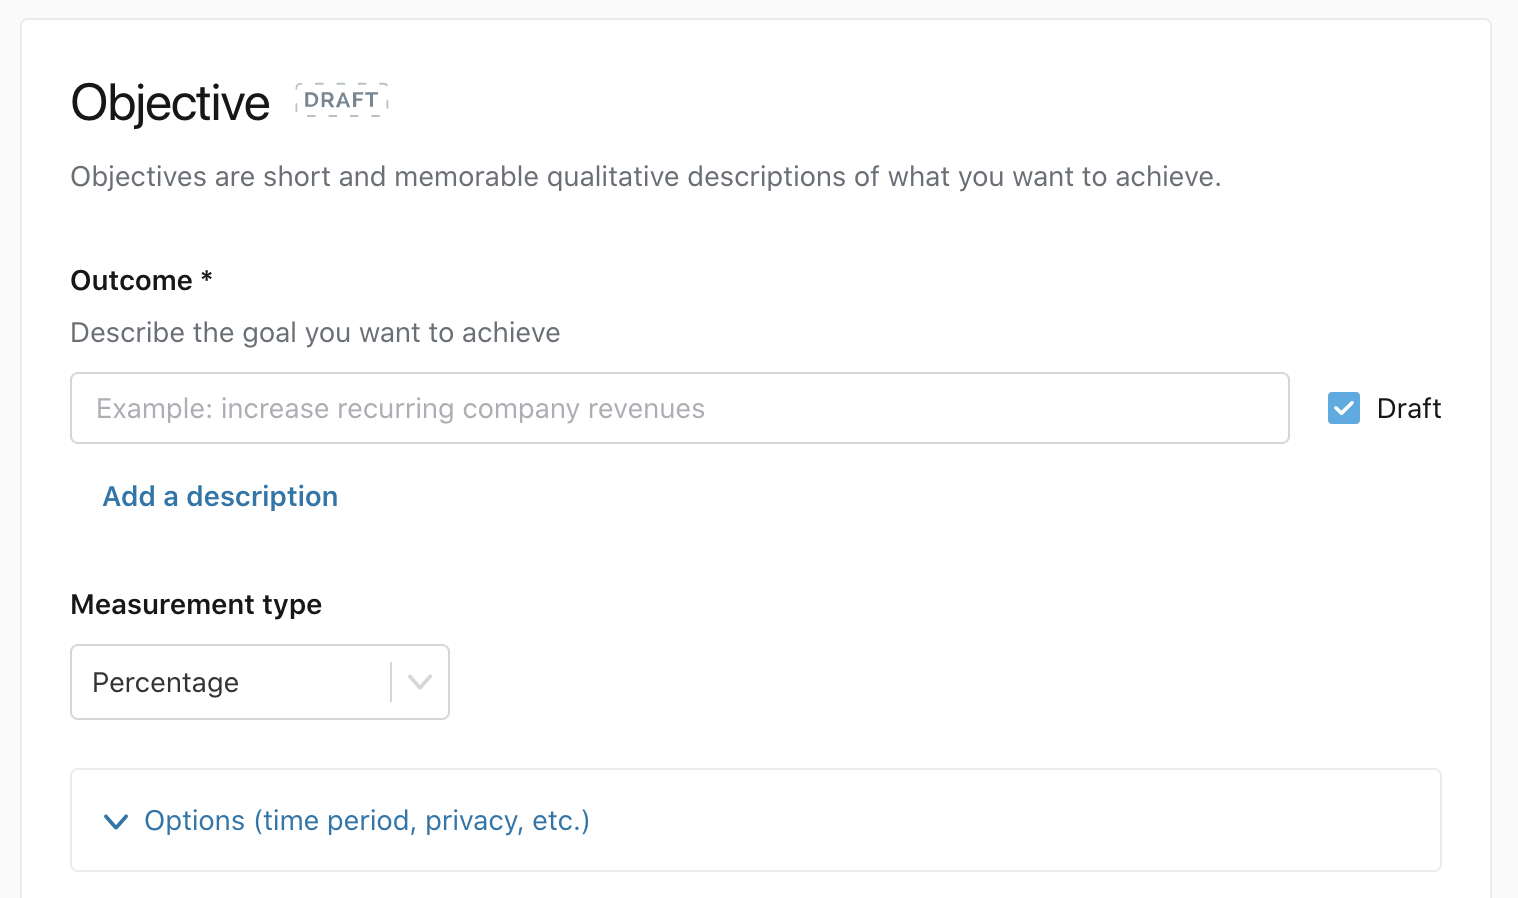
Step 2: Set an objective name and measurement
Name your objectives to reference the purpose and achievements your efforts are working to accomplish.
Define the measurement type to represent the metrics that will determine objective achievement. You can customize how you would like to track your progress by selecting between Percentage, Numeric, Complete/incomplete, or Currency measurement types.

Step 3: Configure your objective settings (optional)
Set the objective to draft
Based on how your network is set up, objectives created may default to draft. Draft objectives are used during the planning process before the quarter (or cycle) has officially started. Employees typically will create Objectives in draft, so that they can meet with their managers to discuss and adjust, before committing to them at the start of a quarter (or cycle).
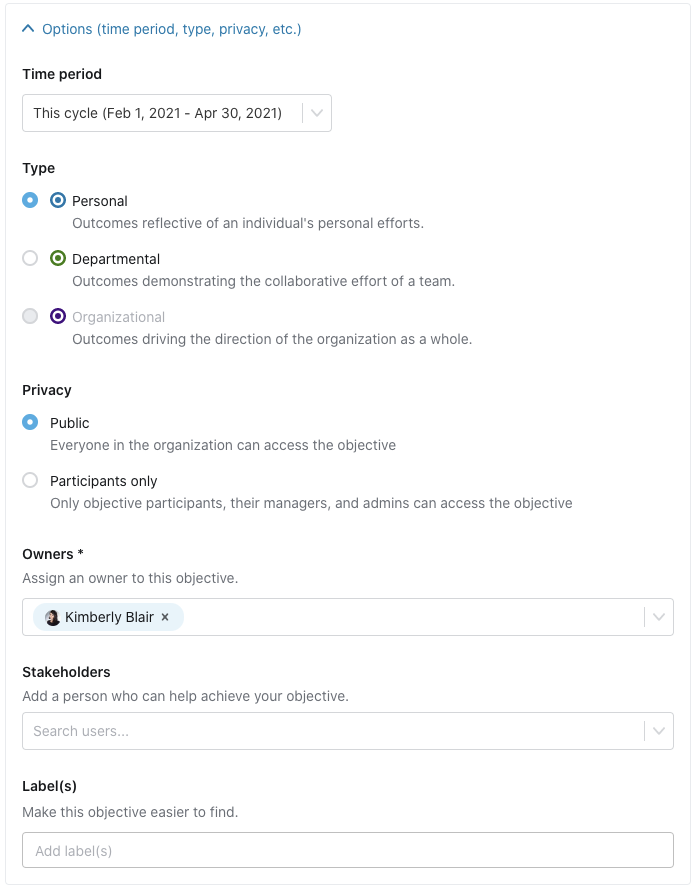
Define a due date
By default, the due date will match the end of your quarter (or cycle).
Set the objective type
The default for new objectives is personal objective, you can create department or organization objectives based on your role and permissions set up by the platform admin.
Set the objective privacy
Objectives are set to public by default. You have the ability to specify whether the objective should be public or only visible to the participants.
Define participants
You are auto-assigned as the owner to the objective. Add additional owners or stakeholders by selecting a blank space next to your name and searching for a team member.
Labels
Add labels to better categorize your objectives.

Step 4: Add a custom check-in reminder email (optional)
By default, this is set to on. You can customize the day of the week to receive an email reminder to check-in. This helps to build habits around continuously tracking progress.

Step 5: Save your objective
Once you’ve written up your objective and chosen how you will measure progress, save the objective, or optionally save and create another one. Saving an objective takes you to the detail page of the objective so that you can continue making changes.

Other articles
To find out more about cascading SMART goal features, check out these additional resources:
