Please note: This article only applies to standalone customers. This article does not apply to those who are integrated into the broader Paycor HCM platform.
Get started by logging in through your Bitium account and searching in the app directory for 7Geese. Once found, select 7Geese and click Done on the top right of the screen.
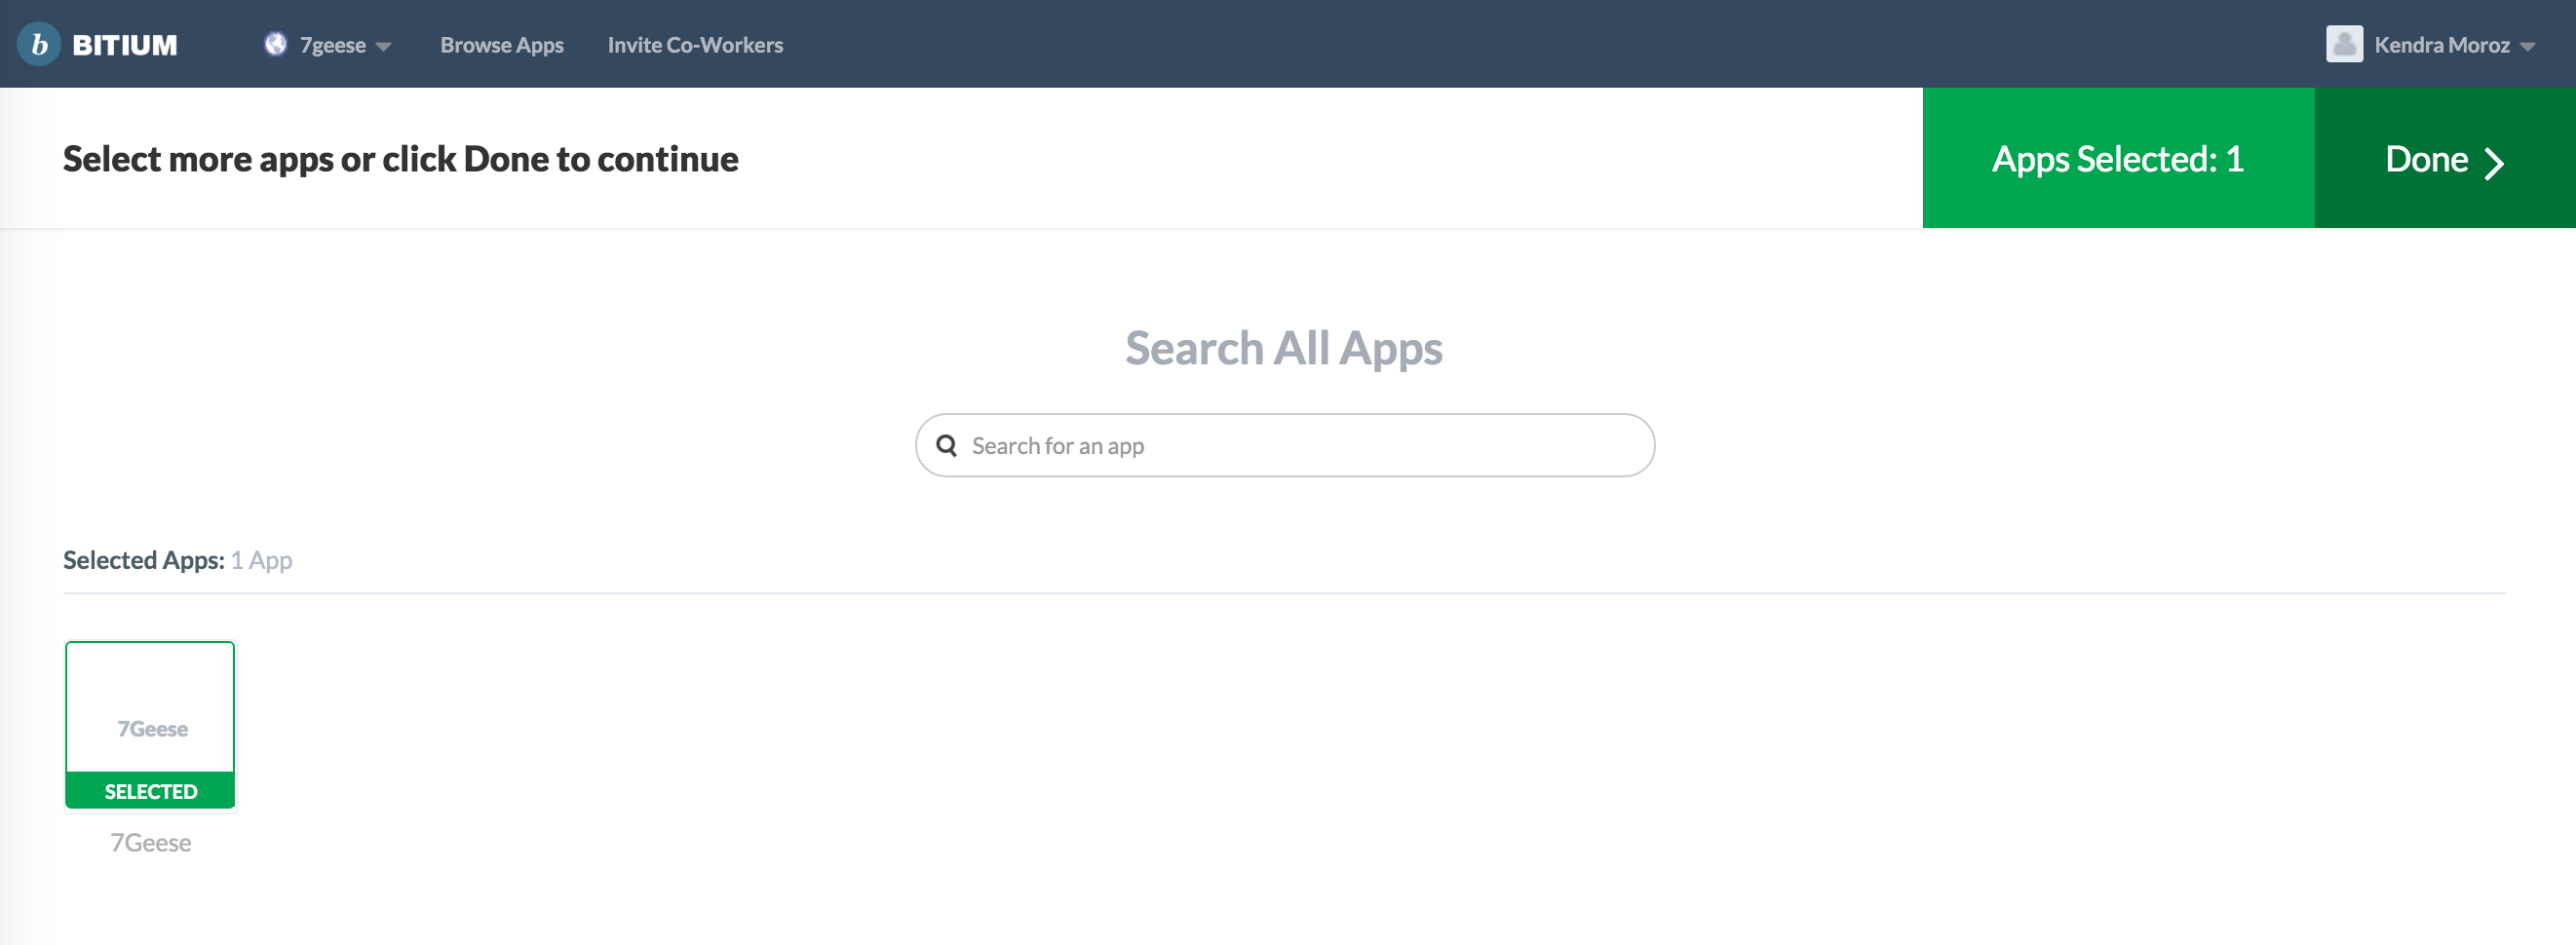
You'll be prompted to configure the 7Geese app with your credentials. If you don't already have the Bitium browser extension installed, you'll be prompted through a one-click install to add the extension to your browser.

If you already have the extension installed or once it's finished installing, you'll be prompted to log in to your 7Geese account.
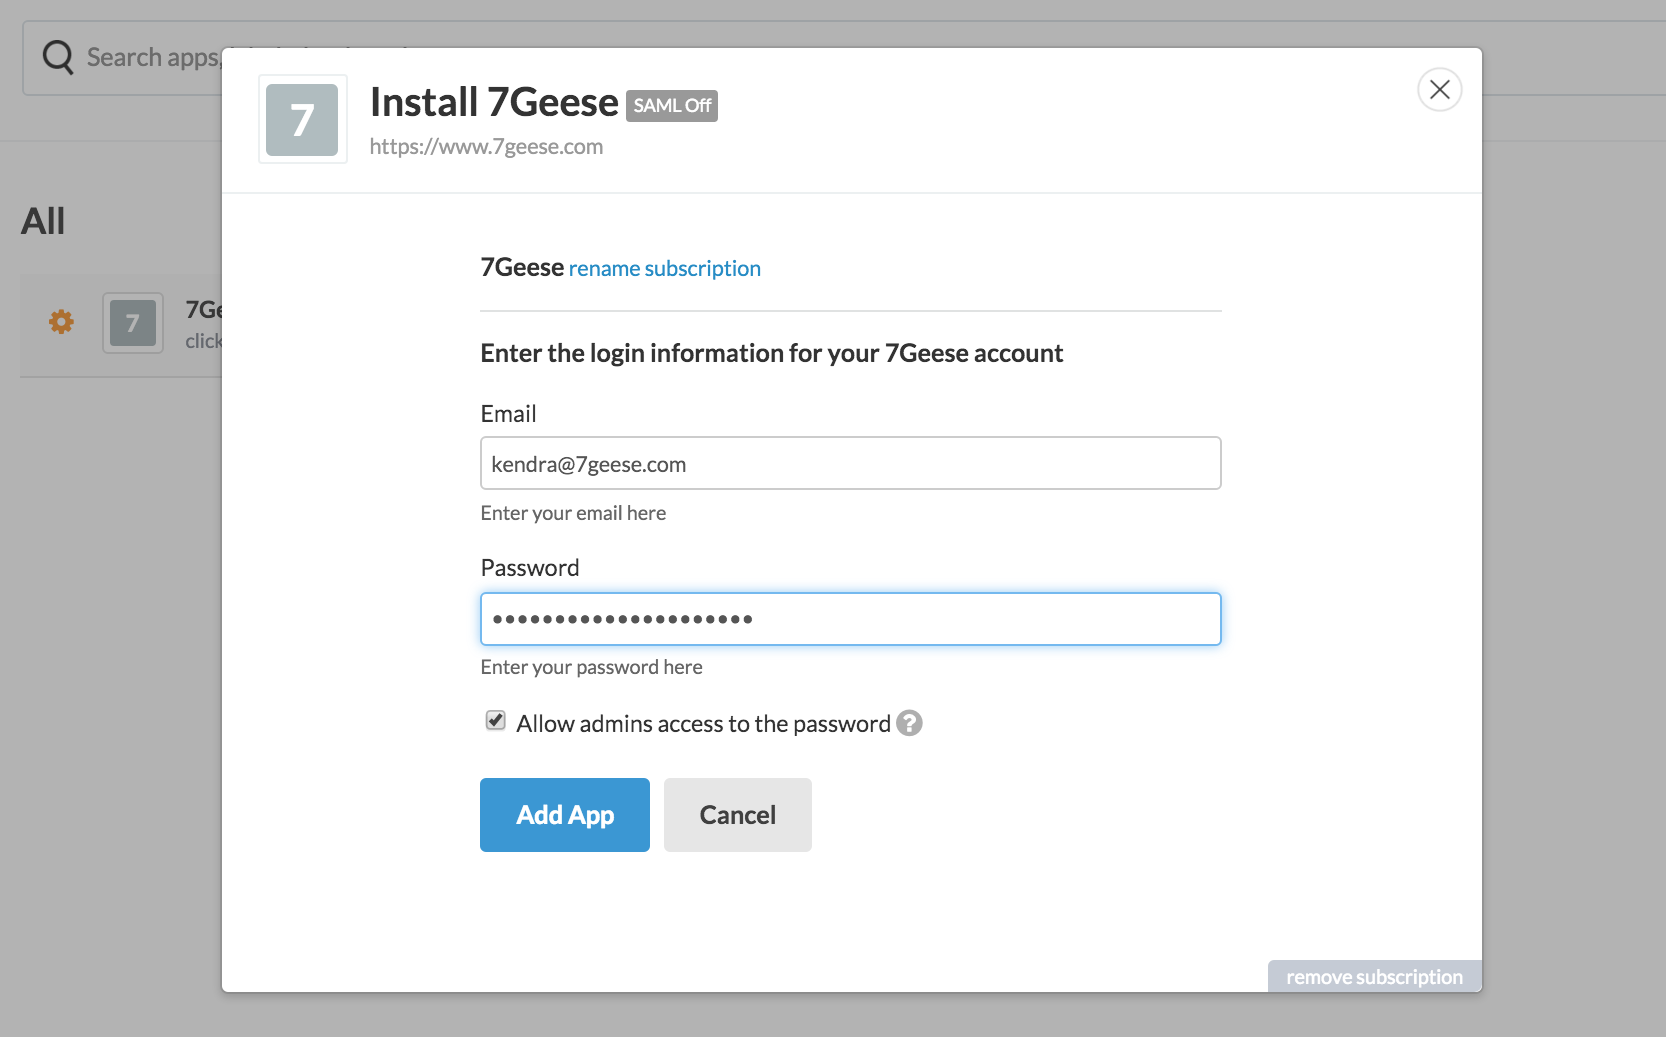
Once you've entered your login credentials, head to Manage Apps on the navigation menu in Bitium.

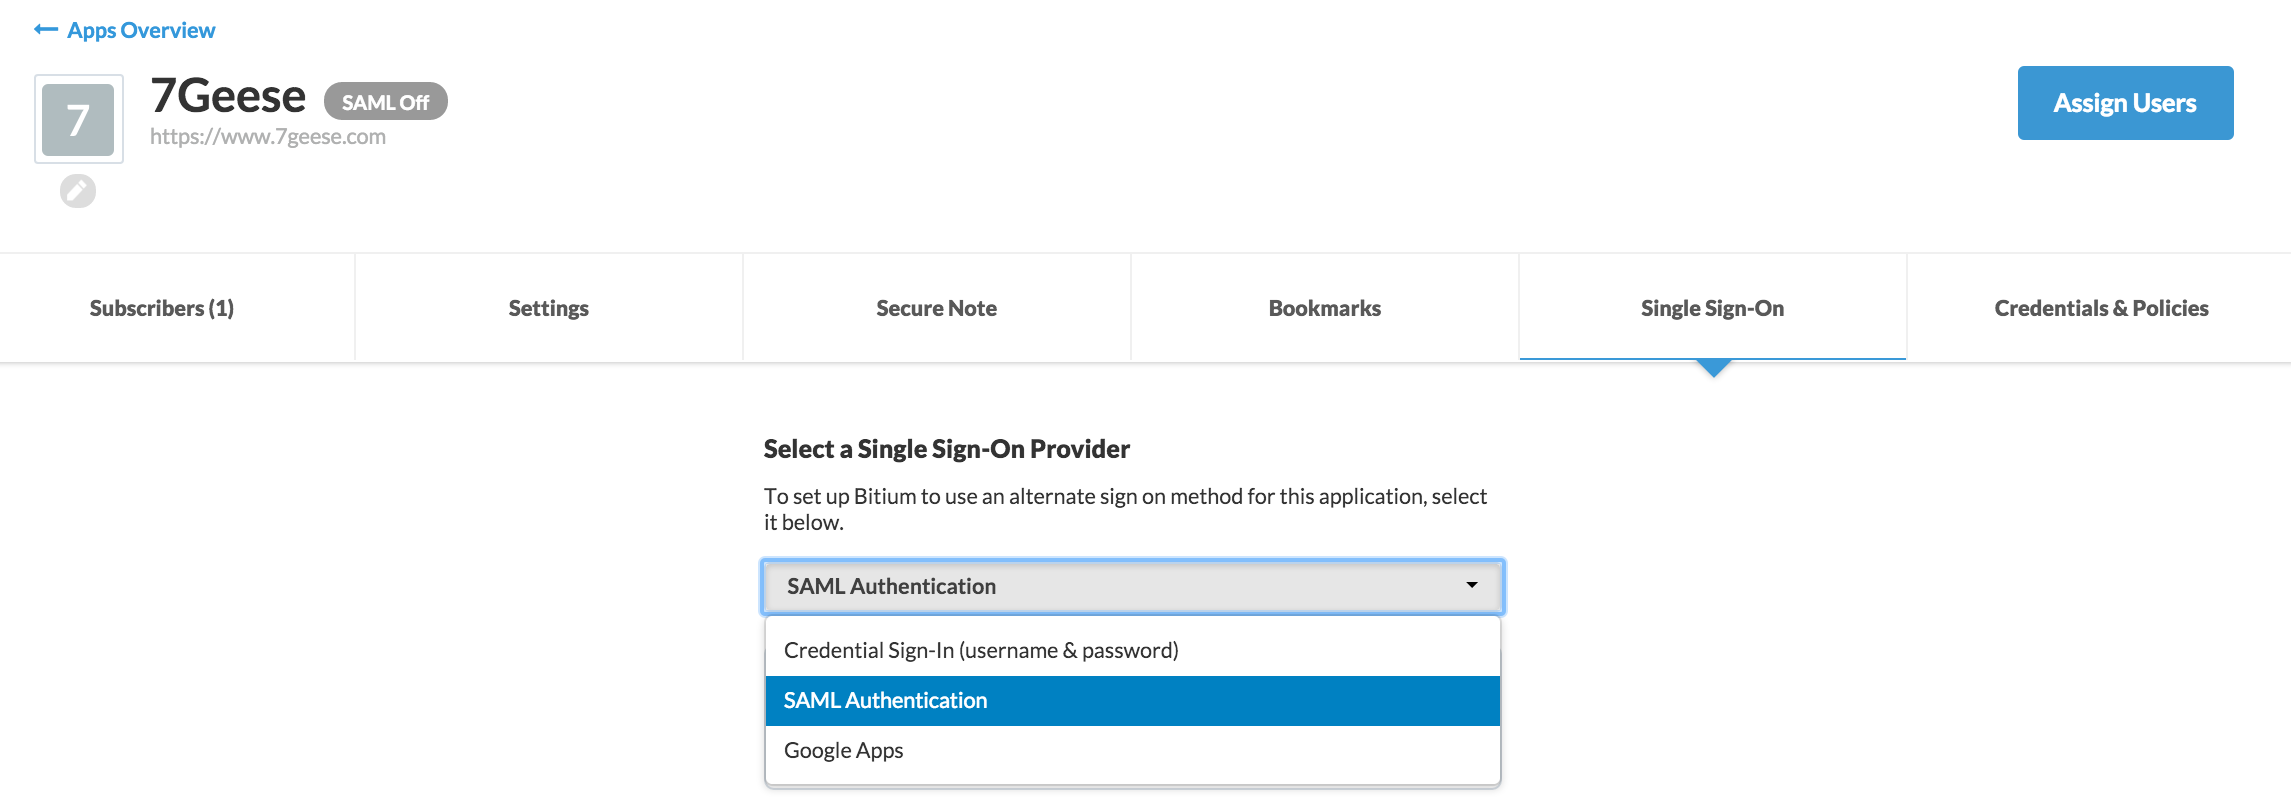
Click on the 7Geese app, head to the Single-Sign-On option and select SAML authentication from the drop down menu.
At this stage, you'll have to open the 7Geese platform and navigate to Organization Settings > Integrations > Configure SAML.
The table below maps out where the corresponding information should be copied to and from Bitium and 7Geese.

After you've saved your settings, copy over the Issuer URL from 7Geese into the Entity ID field in Bitium along with the SSO Service URL from 7Geese into the ACS URL field in Bitium.
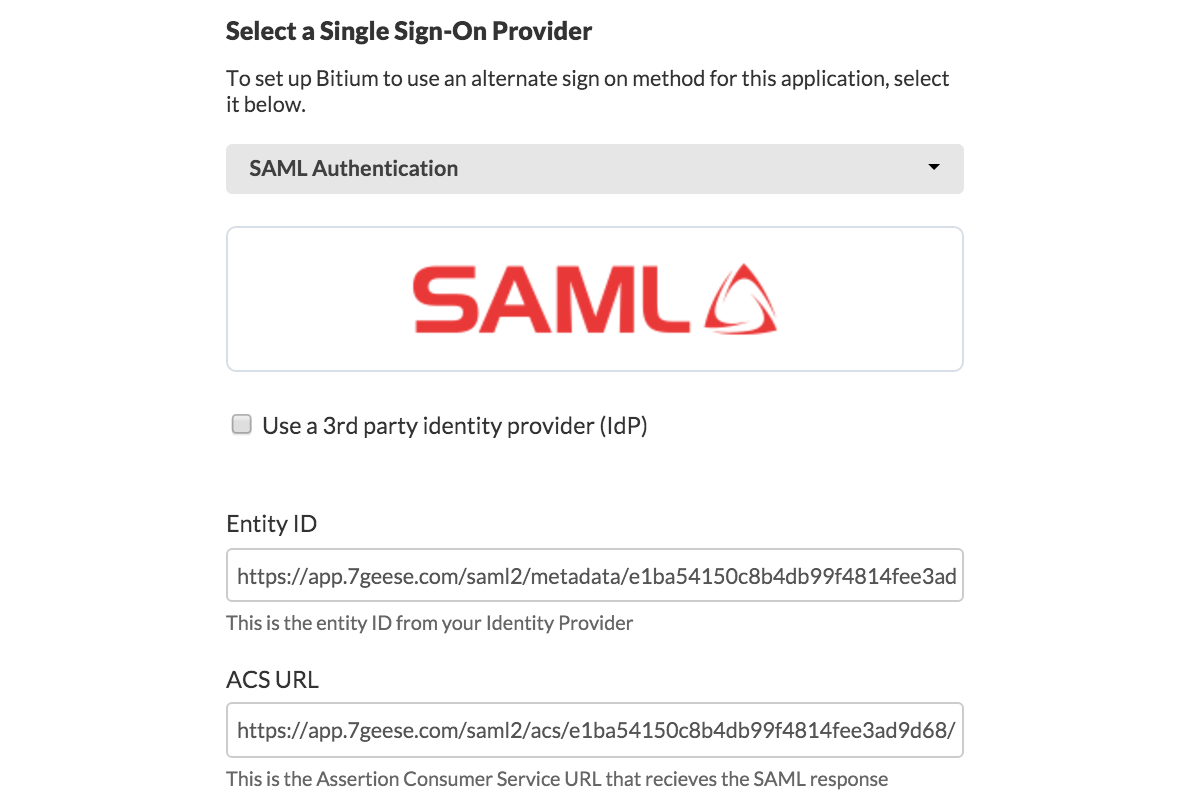
Be sure to save your settings in both Bitium and 7Geese, then use the test login functionality in 7Geese before enabling.
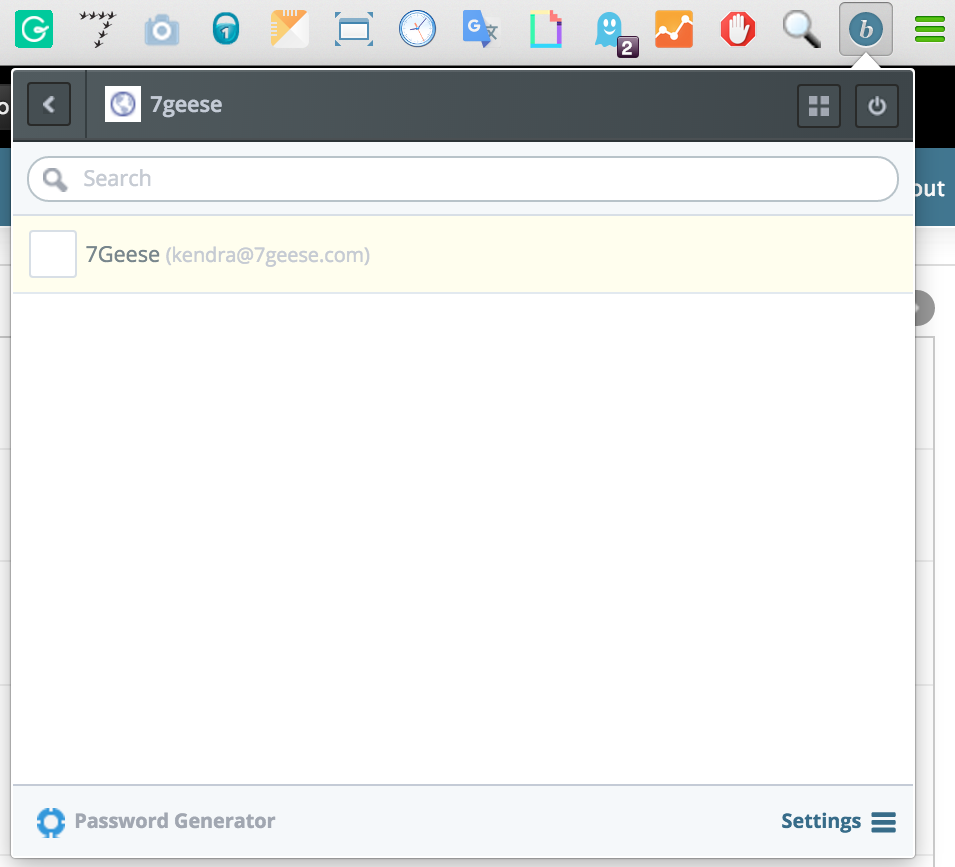
Your team will now have to log in using the SAML provider option on 7Geese or using the 7Geese shortcut from the Bitium extension.
Adding new team members
To add new team members after Bitium is setup for single-sign-on, invite the new team member from 7Geese. They'll be prompted to setup a password, where they'll be redirected to the login page. From here, they'll be able to select the SAML login option.
